
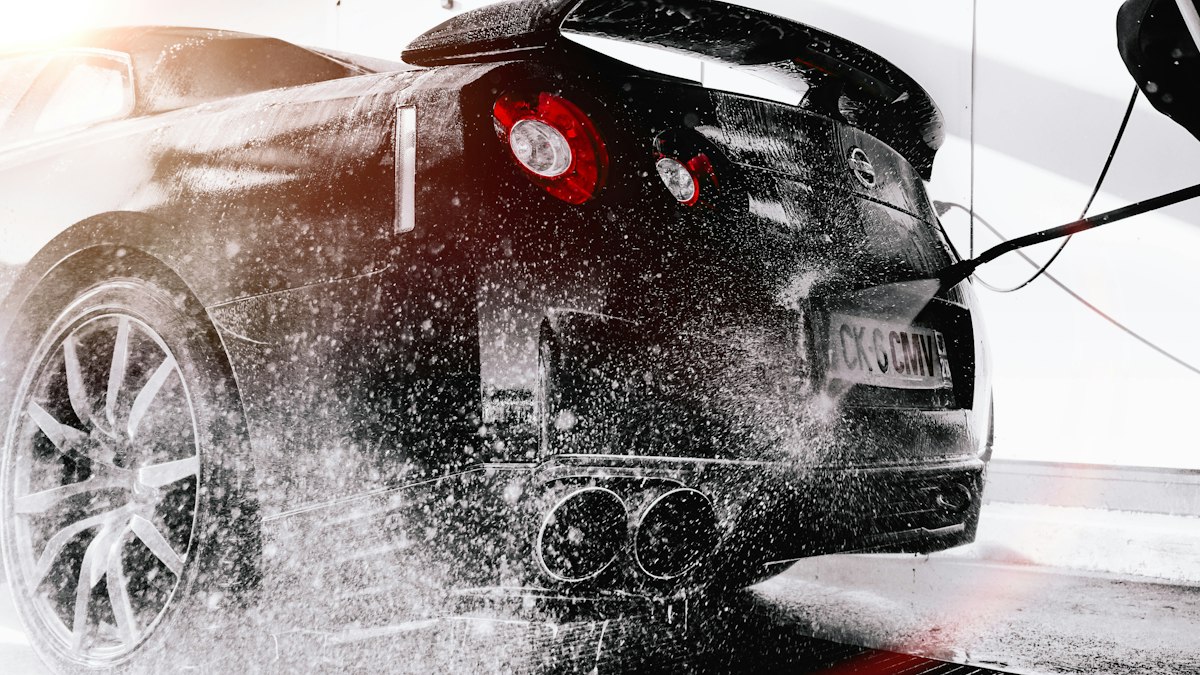
Detailing your vehicle is one of the most rewarding ways to maintain its showroom gloss and protect your long-term investment. However, even the most passionate car enthusiasts often make common mistakes that unintentionally scratch the clear coat, ruin upholstery, and degrade exterior trim.
At The Detailing Ace, we frequently encounter vehicles with damaged clear coats resulting from improper cleaning habits. Below is our comprehensive breakdown of the top 10 car detailing mistakes to avoid and the professional techniques you should use instead.
1. Using Household Cleaning Chemicals on Automotive Paint
One of the most dangerous DIY habits is using household detergents on your car. Household products—such as dish soap, laundry detergent, window cleaner, or bathroom cleaners—are formulated with harsh degreasers and high pH levels.
Why It Harms Your Car:
- Strips Protective Coatings: Dish soap immediately strips away waxes, synthetic sealants, and weakens ceramic coatings.
- Dries Out Clear Coat & Rubber: Alkaline chemicals leach essential oils from clear coats, causing premature oxidation, clear coat hazing, and cracking around window weatherstripping.
> The Proper Method: Always wash your vehicle with a dedicated, pH-balanced automotive shampoo designed to encapsulate dirt while preserving protective layers.
2. Ineffective & Superficial Interior Vacuuming
A quick vacuum pass over the floor mats leaves the vast majority of abrasive dirt trapped deep within carpet fibers and interior crevices.
Common Vacuuming Oversights:
- Neglecting seat rails, under-seat cavities, and trunk seams.
- Using household vacuum attachments that lack specialized crevice tools or horsehair brushes.
- Vacuuming with clogged filters that blow fine dust back into the car cabin.
> The Proper Method: Use high-suction automotive extractors with soft brush attachments. Agitate carpets with a stiff detailing brush before vacuuming to bring embedded sand to the surface.
3. Washing Your Vehicle Under Direct Sunlight
Washing your car outdoors on hot, sunny days may seem convenient, but direct sunlight is one of the fastest ways to ruin your finish.
The Risks:
- 1Rapid Soap Evaporation: Sunlight causes automotive soap to dry onto hot panels, resulting in chemical etching.
- 2Severe Mineral Water Spots: Droplets dry before you can towel them off, leaving hard calcium and silica deposits that etch permanently into the clear coat.
- 3Compound Failure: Polishing pastes and sealants cannot bond or buff off properly on panel surfaces exceeding normal temperatures.
> The Proper Method: Always wash your car in shaded areas, early in the morning, or inside a climate-controlled detailing bay.
4. Allowing Hard Tap Water to Air Dry
Leaving wash water to air dry on car panels is a guaranteed recipe for permanent water spot etching.
Why Tap Water is Dangerous:
- Tap water contains high Total Dissolved Solids (TDS), including calcium, magnesium, and chlorine.
- As the water evaporates under heat, these minerals crystallize, forming stubborn chalky rings that eat into the clear coat.
> The Proper Method: Use filtered low-TDS water for the final rinse whenever possible, and immediately dry the vehicle using plush, high-GSM microfiber towels or filtered warm air blowers.
5. Applying Excessive Wax or Paint Sealant
More is not better when it comes to automotive waxes and sealants. A common misconception is that applying a heavy, thick layer creates a deeper shine or stronger shield.
What Actually Happens:
- Smothers Gloss: Thick wax layers haze over, making the paint look cloudy rather than reflective.
- Creates Unsightly Buildup: Excess wax gets lodged in panel gaps, emblems, and plastic moldings, where it dries into a stubborn white residue.
- Wastes Product: Only a microscopic layer of wax bonds to the paint; the rest is simply buffed off and discarded.
> The Proper Method: Apply wax in an ultra-thin, uniform layer using a foam applicator pad. Allow it to haze according to manufacturer specifications, then buff off with a clean microfiber towel.
6. Neglecting Specialized Cleaners for Stubborn Stains
Attempting to clean every surface with a single soap solution leads to poor results and damaged surfaces.
Specialized Solutions Required:
- Bug & Tar Remover: Dissolves acidic insect remains and road asphalt without aggressive scrubbing.
- Iron Fallout Removers: Chemically dissolves embedded metallic brake dust before it causes paint rust spots.
- All-Purpose Cleaner (APC) Dilutions: Must be diluted specifically for exterior wheels (e.g., 1:4) versus delicate interior leather (e.g., 1:15).
7. Using Excessive Water Pressure on Sensitive Areas
While a pressure washer speeds up exterior rinsing, using excessive pressure (over 2000 PSI) or holding the nozzle too close can cause irreversible damage.
Potential Hazards:
- Flaking clear coat around rock chips or panel edges.
- Forcing water past rubber weather seals into door electronics and sensitive engine bay sensors.
- Piercing delicate radiator fins or soft paint finishes.
> The Proper Method: Keep pressure washers at 1200–1600 PSI with a 40-degree wide fan tip, maintaining at least 12 inches of distance from panels.
8. Polishing with the Incorrect Pad and Speed
Machine polishing requires a precise match between the paint hardness, backing plate size, foam pad density, and machine oscillation speed.
Mistakes to Avoid:
- Using Aggressive Wool Pads on Soft Paint: Results in severe micro-marring and buffer trails (holograms).
- Mismatched Backing Plates: Causes uneven pressure distribution and edge gouges.
- Excessive Rotational Speeds: Generates extreme friction heat, risking paint burn-through on panel edges and plastic bumpers.
> The Proper Method: Always perform a test spot with the least aggressive pad and polish combination first, inspecting under high-CRI inspection lights.
9. Skipping Paint Decontamination Before Polishing
Polishing a vehicle that has not been properly decontaminated is one of the most destructive detailing mistakes.
Why Pre-Cleaning is Mandatory:
- A vehicle's clear coat accumulates industrial fallout, tree sap, and embedded silica dust that washing alone cannot remove.
- If you run a high-speed polishing pad over contaminated paint, the pad picks up these abrasive grit particles and drags them across the finish, causing deep swirl marks.
> The Proper Method: Always perform a chemical iron fallout bath followed by a clay bar decontamination treatment before any machine polishing session.
10. Drying Panels with Dirty, Low-Quality, or Linted Towels
Up to 80% of swirl marks occur during the drying stage due to improper towels and aggressive circular wiping.
Drying Best Practices:
- Avoid Old Clothes & Rags: Old t-shirts, bath towels, and traditional chamois leather trap grit and drag it across the clear coat.
- Use Dedicated Microfiber Drying Towels: Invest in 70/30 blend, 800+ GSM edgeless twisted-loop microfiber towels.
- Use the Pat-Dry Technique: Lay the towel flat on the panel and gently pat the surface to absorb water rather than rubbing aggressively.
Frequently Asked Questions (FAQ)
What is the single biggest cause of swirl marks on car paint?
The primary cause of swirl marks is improper washing and drying techniques—specifically using dirty wash mitts, a single wash bucket without grit guards, and scrubbing dry panels with rough cloths.
How often should I wax or seal my vehicle?
Traditional carnauba waxes last 4 to 8 weeks, while synthetic polymer sealants last 4 to 6 months. For multi-year durability, professional 9H ceramic coatings or TPU Paint Protection Film (PPF) provide superior defense.
Can I detail my car at home with professional results?
Yes, provided you use the two-bucket wash method, pH-neutral chemicals, clean microfibers, and proper decontamination steps. For multi-stage machine paint correction, professional studio equipment is recommended.
> Recommended Deep-Dive: If you are exploring this topic, read our clinical guide on Exposed: TPU vs TPH vs PVC/PCU PPF Scams in Pakistan – Don't Ruin Your Haval H6's Paint! for proven studio standards and maintenance routines.
> Recommended Deep-Dive: If you are exploring this topic, read our clinical guide on TPU vs TPH vs PCU PPF in Pakistan: Technical Guide to Avoiding Paint Ruin & Market Scams for proven studio standards and maintenance routines.